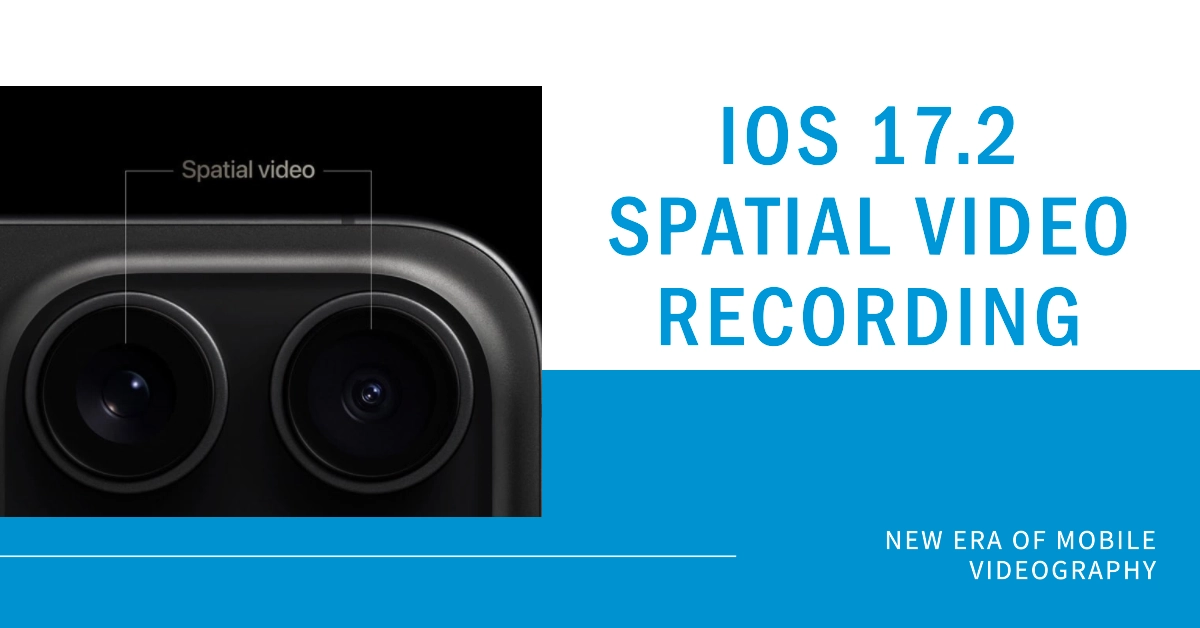
The iPhone 15 Pro and Pro Max ushered in a new era of mobile videography with the introduction of spatial video recording. This innovative feature captures not only the sights but also the depth and dimension of your surroundings, creating immersive experiences that go beyond traditional video.
Whether you’re a seasoned filmmaker, a casual vlogger, or simply someone who wants to capture memories in a unique way, spatial video opens up a world of creative possibilities. But with any cutting-edge technology, navigating the how-tos can be tricky. This comprehensive guide will equip you with everything you need to master spatial video recording on your iPhone 15 Pro/Pro Max.
Understanding Spatial Video: Beyond the Screen
Spatial video goes beyond simply capturing what’s in front of the camera. It uses the advanced LiDAR scanner and TrueDepth camera on your iPhone to gather depth information, creating a multi-layered representation of the scene. This allows viewers to:
- Move their head within the video, panning around and experiencing the scene from different angles, just like being there.
- Feel the depth between objects in the foreground and background, adding a sense of realism and immersion.
- Focus their attention on specific objects within the scene by tilting their device, mimicking how our eyes naturally focus.
Before You Begin
- Hardware: Ensure you have an iPhone 15 Pro or Pro Max. Spatial video recording is not available on other iPhone models.
- Software: Update your iPhone to iOS 17 or later. Spatial video capture is a new feature introduced with this update.
- Storage: Spatial videos require significantly more storage space than regular videos due to the additional depth data. Ensure you have enough free space available on your iPhone.
Enabling Spatial Video Recording
- Open the Settings app on your iPhone.
- Scroll down and tap Camera.
- Tap Formats.
- Toggle on the switch next to Spatial video for Apple Vision Pro.
Capturing a Spatial Video
- Open the Camera app.
- Swipe the mode selector to Video.
- Rotate your iPhone to landscape orientation. Spatial video recording is only available in landscape mode.
- You’ll see a new spatial video icon appear in the top right corner of the screen (a ring with three dots inside).
- Tap the spatial video icon to activate it. The icon will turn blue, and the recording resolution will change to indicate spatial capture (e.g., 1080p Spatial).
- Tap the record button (or press either volume button) to begin recording.
- Move the camera around the scene to capture its depth and perspective. Remember, you’re not just recording what you see, but also the 3D information of the space.
- Tap the record button again (or press either volume button) to stop recording.
Viewing and Sharing Spatial Videos
- Play your spatial video in the Photos app.
- Tilt your iPhone or iPad to pan around and explore the scene in 3D. You can also use AirPods or compatible headphones for enhanced spatial audio.
- Sharing is caring! You can share your spatial videos with others who have compatible devices like the iPhone 15 Pro/Max, iPad Pro, or Mac with M1 chip. However, keep in mind that viewers on non-compatible devices will only see a regular video without the spatial effects.
You can also share your spatial videos with friends and family through compatible devices like the Apple TV 4K with Dolby Atmos. Watching a spatial video on such devices transports viewers right into the scene, creating a truly immersive experience.
Tips and Tricks for Pro Spatial Videographers
- Slow down: For smoother, more cinematic feel, try recording at 24fps or 30fps instead of the default 60fps.
- Lock exposure and focus: This ensures consistent quality throughout your recording, especially when moving around.
- Use a tripod or gimbal: For stable shots and precise camera movements, consider using a stable filming platform.
- Get creative: Experiment with different compositions, angles, and movements to tell your story in a unique and immersive way.
- Lighting is Key: Good lighting is crucial for optimal depth perception in spatial videos. Shoot in well-lit environments or consider using external lighting setups.
- Mind the Background: Busy backgrounds can confuse the LiDAR sensor. Opt for clean backgrounds with clear separation between foreground and background elements.
- Experiment with Movement: Don’t be static! Move around the scene while recording to add dynamism and depth to your video.
- Focus on the Details: Close-ups of objects and textures can highlight the 3D capabilities of spatial video, making your footage even more captivating.
Embrace the Spatial Revolution
Spatial video recording is more than just a cool gimmick; it’s a paradigm shift in how we capture and share our experiences. With its ability to transport viewers into the heart of the action, spatial video holds immense potential for storytelling, education, entertainment, and beyond.
So, grab your iPhone 15 Pro/Pro Max, unleash your creativity, and start capturing the world in a whole new dimension.
