You rely on your phone daily and expect the battery to last reasonably long between charges. But after updating to Android 14, your phone’s battery starts draining much faster. Truly, it’s frustrating. When your phone’s battery starts emptying faster than normal, it’s incredibly inconvenient to have to frequently recharge.
In most cases you can resolve battery drain issues on Android 14 using some simple troubleshooting tips. Let’s look at effective ways to restore normal battery life.
What Causes Battery Draining after an Update?
Abnormally quick battery drain after an Android update is usually caused by buggy code, incompatible apps, new background activities, or incorrect settings.
There are a few reasons why you might experience battery draining issues after an Android update:
- New features and functionality: Android updates often include new features and functionality, which can require more power from your device.
- App compatibility issues: Some apps may not be fully compatible with the new Android version, which can lead to increased battery usage.
- Bugs and glitches: Android updates can sometimes introduce bugs and glitches that can affect battery life.
- Indexing: After an Android update, your device needs to index all of your content, which can be a power-hungry process.
- Background activity: After an update, some apps may start running in the background more often, which can drain your battery.
Helpful Tweaks to Deal with Post-Update Battery Draining Problem on Android devices
By analyzing battery usage, closing battery-hogging apps, enabling power saving modes, and adjusting settings, you can narrow down and fix whatever is unnecessarily draining your battery.
If you’re experiencing battery draining issues after an Android update, there are a few things you can try to fix the problem:
Before you troubleshooting, give your device some time to adjust: It can take a few days or even a week for your device to fully adjust to a new Android version. During that time, you may experience some battery drain.
If the battery continues to drain faster after the adjustment period, then you can try these subsequent troubleshooting methods:
Check Battery Usage Details
As a first step, closely examine battery usage details in Settings to see which apps and system functions are consuming the most power. Look for any obvious high draining apps or services.
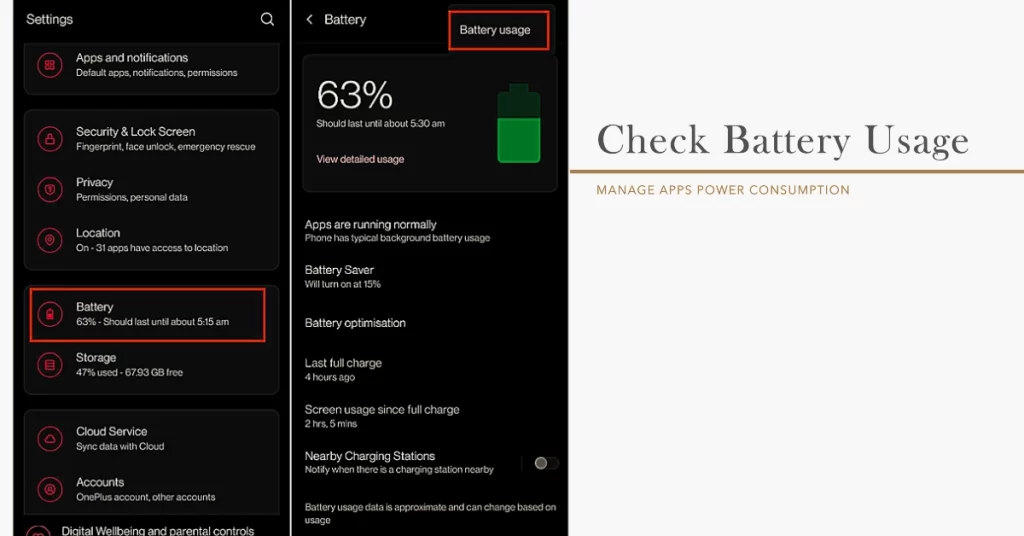
To check battery usage details on Android 14, you can follow these steps:
- Open the Settings app.
- Tap on Battery.
- Under Battery usage, you will see a list of all the apps that have used battery since the last full charge.
- Tap on an app to see more details about its battery usage, including how much time it has been used in the foreground and background, and how much battery it has consumed.
- You can also tap on the three-dot menu in the top right corner of the screen to see more options, such as Screen time, Battery saver, and Battery optimization.
Note: If you are using a third-party battery monitoring app, you can also use that app to check battery usage details.
How to check battery health on Android 14
Android 14 includes a new API that allows apps to display your phone’s battery health. However, this feature is still under development and is not yet available in the stable release of Android 14.
If you are running the Android 14 beta, you can use a third-party app called aBattery to check your battery health. To do this, you will need to grant the app permission to access your phone’s battery stats. You can do this by following these steps:
- Open the Settings app.
- Tap on Apps.
- Tap on See all apps.
- Tap on aBattery.
- Tap on Permissions.
- Tap on the Battery stats toggle switch to enable permission.
Once you have granted permission, you can open the aBattery app and tap on the Battery health tab to see your battery health.
Please note: The battery health information displayed by aBattery is not guaranteed to be accurate. Google has not yet released a public API for checking battery health, so third-party apps like aBattery are using their own methods to estimate battery health.
Update or force quit apps that are draining too much battery in the background. This can provide quick savings.
Force Quit Battery Draining Apps
Apps not optimized for Android 14 could be draining extra battery in the background. Force quitting them prevents this drain.
To force quit apps on Android 14, you can follow these steps:
- Open the Settings app.
- Tap on Apps.
- Tap on See all apps.
- Tap on the app you want to force quit.
- Tap on Force stop.
- Tap OK to confirm.
Note: Force stopping an app can cause unsaved data to be lost, so it is important to only use this method if the app is frozen or unresponsive.
Another way to force quit apps on Android 14 is to use the Recent apps screen. To do this, follow these steps:
- Swipe up from the bottom of the screen to open the Recent apps screen.
- Tap on the X next to the app you want to force quit.
- Tap Force stop to confirm.
Repeat this as needed to isolate apps causing excessive battery drain issues.
Note: If you are using a third-party launcher, the steps for force quitting apps may be different. Please consult the documentation for your launcher for more information.
Here are some additional tips for force quitting apps on Android:
- If you are having trouble force quitting an app, you can try restarting your device.
- You can also try using a third-party app such as Force Quit to force quit apps.
- If you are still having trouble, you can try contacting your device manufacturer or carrier for further assistance.
Enable Battery Saver Mode
Take advantage of Battery Saver mode to temporarily reduce background activity and extend battery life. Battery Saver limits location services, syncing, and CPU usage.
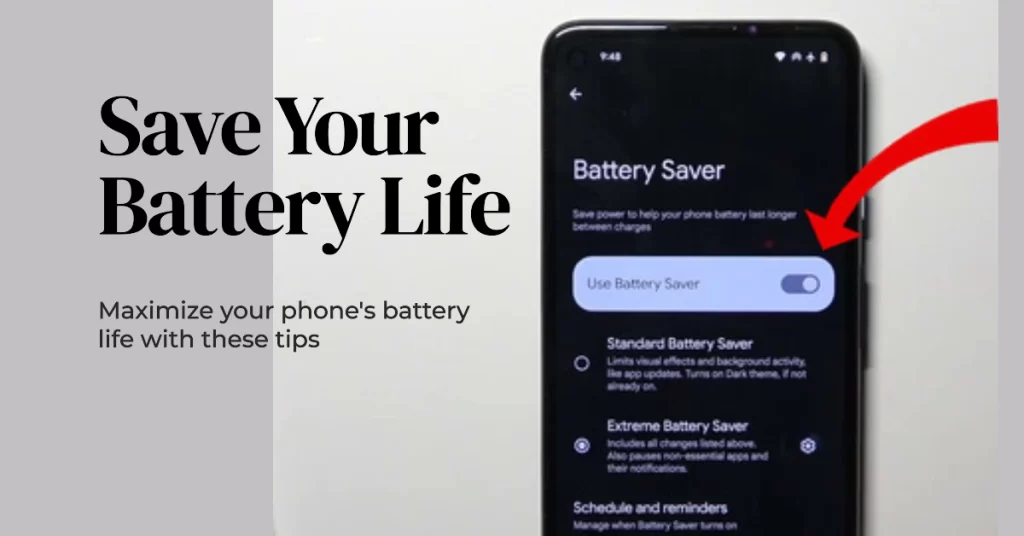
To enable Battery Saver:
- Open Settings > Battery > Battery Saver.
- Toggle on Battery Saver.
Battery Saver optimizes power usage when enabled, giving you more juice before needing to charge.
Adjust Screen and Sound Settings
Also adjust screen brightness, timeout, and sound settings to conserve battery. Reduce screen brightness, shorten the timeout delay, and lower volume levels.
To adjust screen and sound settings on Android 14, follow these steps:
Adjust screen settings:
- Open the Settings app.
- Tap on Display.
- Here, you can adjust various screen settings, such as:
- Brightness: Adjust the brightness of your screen.
- Adaptive brightness: This feature automatically adjusts the brightness of your screen based on the ambient light.
- Eye comfort shield: This feature reduces the amount of blue light emitted by your screen, which can help to reduce eye strain.
- Dark mode: This feature turns your screen’s UI elements dark, which can help to save battery life and reduce eye strain.
- Screen timeout: This setting determines how long your screen will stay on before it turns off.
- Font size: Adjust the font size of your screen’s UI elements.
- Screen zoom: Adjust the zoom level of your screen’s UI elements.
- Display color: Adjust the color mode of your screen.
Adjust sound settings:
- Open the Settings app.
- Tap on Sound.
- Here, you can adjust various sound settings, such as:
- Volume: Adjust the volume of your device’s ringer, media, and notifications.
- Vibrate: Adjust the vibration intensity of your device.
- Do Not Disturb: This feature allows you to silence calls, notifications, and other alerts.
- Media: This section allows you to adjust the sound settings for specific media apps, such as music and video players.
- Advanced: This section allows you to adjust more advanced sound settings, such as the audio equalizer and the Bluetooth codec.
Please note: The specific screen and sound settings available on your device may vary depending on your device manufacturer and model.
Check for Android Updates
Check if your device manufacturer has released any further Android 14 updates. Subsequent updates may contain battery life fixes and optimizations.
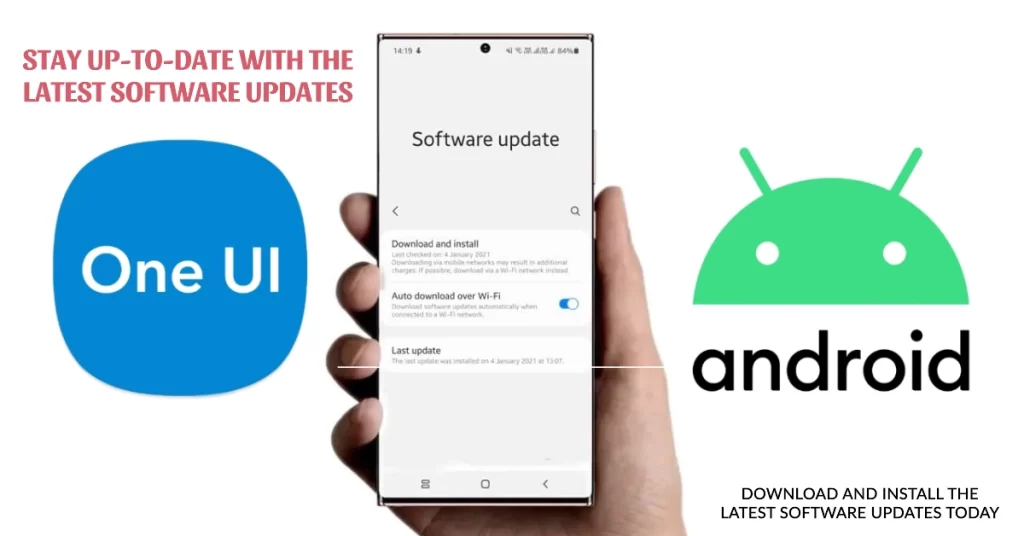
To check for updates on Android 14, follow these steps:
- Open the Settings app.
- Tap on System.
- Tap on System update.
- Tap on Check for updates.
Your device will check for updates and notify you if an update is available. If an update is available, you can tap on Download and install to download and install the update.
Note: If you are enrolled in the Android Beta program, you will receive updates more frequently than stable Android users. To check if you are enrolled in the Android Beta program, go to Settings > System > About phone > Build number. If the build number ends with “DP” (developer preview), then you are enrolled in the Android Beta program.
Here are some additional tips for checking for and installing updates on Android 14:
- Make sure that your device is connected to a Wi-Fi network. Updates can be large, so it is best to download them over Wi-Fi to avoid using up your mobile data.
- Back up your device before installing an update. This will ensure that your data is safe if something goes wrong during the installation process.
- Charge your device to at least 50% before installing an update. This will help to ensure that your device does not run out of battery during the installation process.
If you are having trouble installing an update, you can try the following:
- Restart your device.
- Clear the cache for the System Update Service app. To do this, go to Settings > Apps > See all apps > System Update Service > Storage & cache > Clear cache.
- Try installing the update again.
- If you are still having trouble, you can contact your device manufacturer or carrier for assistance.
Updating to the latest Android version ensures you have any battery improvements included.
With focused troubleshooting – analyzing usage, force quitting apps, enabling Battery Saver, adjusting settings, and updating Android – you should be able to resolve battery drain issues on your device after updating. Be patient and take it step-by-step.
