In the digital age, subscriptions reign supreme. While they offer convenient access to valuable services and entertainment, they can also become a tangled web of forgotten charges. If your iPhone’s app subscriptions have become a financial drain or simply clutter your App Store, don’t worry!
This comprehensive guide will equip you with the knowledge and steps to reclaim control, unsubscribe with confidence, and keep your wallet happy. Ready to say goodbye to subscription overload? Let’s dive in!
Where To Find App Subscriptions on your iPhone?
Before you can banish those pesky subscriptions, you need to locate them. Here’s your roadmap:
- Launch the Settings app: This is your command center for all things iPhone, including managing subscriptions.
- Tap your Apple ID profile picture: Scroll down to the top of the Settings app and tap on your profile picture or name.
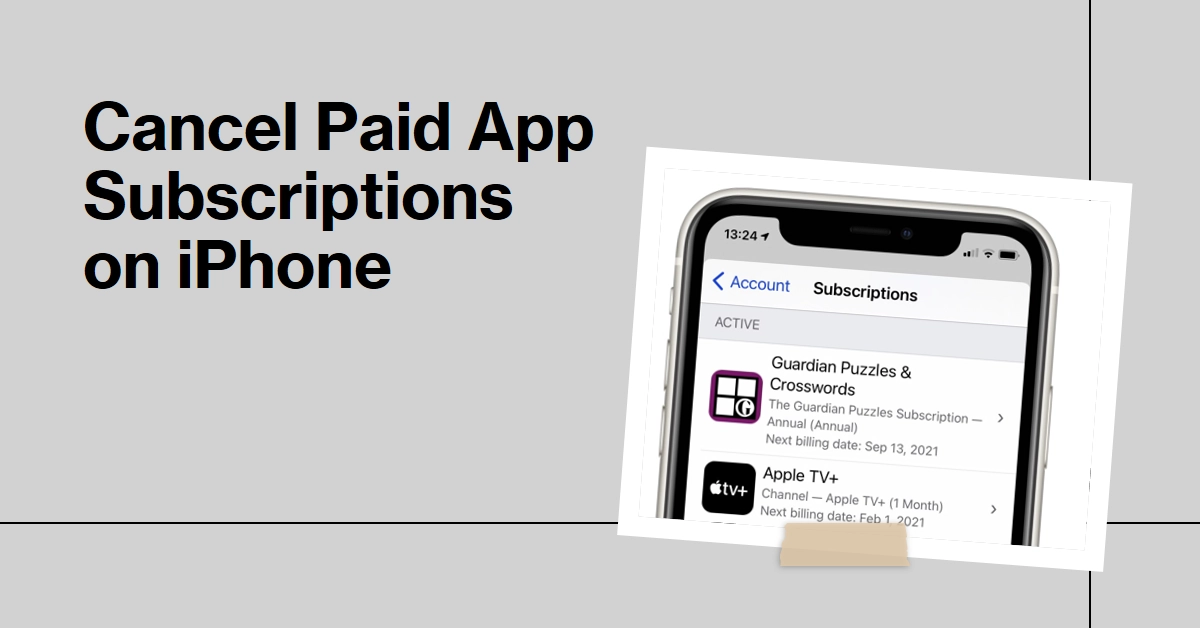
- Enter the “Subscriptions” domain: This gateway reveals a list of all active and expired subscriptions linked to your Apple ID.
Here, you’ll find a complete list of all your active subscriptions, including their expiration dates and renewal costs. Don’t be surprised if you encounter forgotten subscriptions – it’s a common phenomenon!
Now, you’re face-to-face with your app subscription ecosystem. Take a moment to review each entry:
- Identify the forgotten treasures: Are there subscriptions you haven’t used in months?
- Analyze the recurring costs: Can you justify the price tag or are there cheaper alternatives?
- Spot the unexpected charges: Did a free trial sneakily turn into a paid subscription?
With this newfound awareness, you’re prepared to make informed decisions about your app subscriptions.
Unsubscribing: A Step-by-Step Guide
Once you’ve identified your targets, it’s time to execute the cancellation operation. Here’s how to unsubscribe from an app subscription with surgical precision:
- Navigate to the targeted subscription: Within the “Subscriptions” list, tap on the app you wish to unsubscribe from.
- Locate the cancellation control: This might be a red “Cancel Subscription” button, a “Manage” option, or a renewal date with a cancellation link.
- Confirm your decision: Depending on the app, you might be presented with additional information or offered alternative pricing plans. Review them carefully before making your final decision.
- Seal the deal: Tap “Cancel Subscription” (or similar wording) and witness the magical disappearance of that recurring charge.
Congratulations! You’ve successfully removed an unwanted app subscription from your financial burden. Repeat this process for any other subscriptions you wish to cancel, reclaiming control of your app landscape.
Proactive Defense: Stopping Subscriptions Before They Start
To avoid the hassle of cancellation in the future, consider these proactive measures:
- Double-check App Descriptions: Before signing up for any subscription, carefully read the app’s description to understand its pricing and renewal terms.
- Utilize Parental Controls: If you’re concerned about children accidentally making in-app purchases, set up parental controls on your Apple ID. This allows you to restrict purchases and require approval before any downloads.
- Embrace Free Alternatives: Many apps offer free versions with limited features. Consider exploring these options before committing to a paid subscription.
Bonus Tips
Now that you’re a cancellation ninja, here are some extra tips to keep your app subscriptions in check:
- Turn on renewal reminders: This proactive measure ensures you receive notifications before a free trial expires or a subscription renews, allowing you to make informed decisions about continuing.
- Utilize Family Sharing: If you’re part of a Family Sharing group, consider sharing eligible subscriptions with family members, potentially saving everyone money.
- Beware of free trials: Read the fine print! Many free trials automatically convert to paid subscriptions unless you manually cancel before the deadline.
- Regularly audit your subscriptions: Make it a habit to revisit your “Subscriptions” list every few months to identify any subscriptions you’ve outgrown or no longer use.
- Unsubscribe from Unwanted App Notifications: Even after cancelling subscriptions, you might still receive notifications from the app.
- To silence these unwanted reminders, head to the Settings app, tap Notifications, and select the specific app. Under Notification Styles, choose Deliver Quietly or Turn Off Notifications completely.
By mastering these techniques, you can transform your iPhone from a cluttered subscription battlefield into a haven of purposeful app usage.
Hope this helps!
