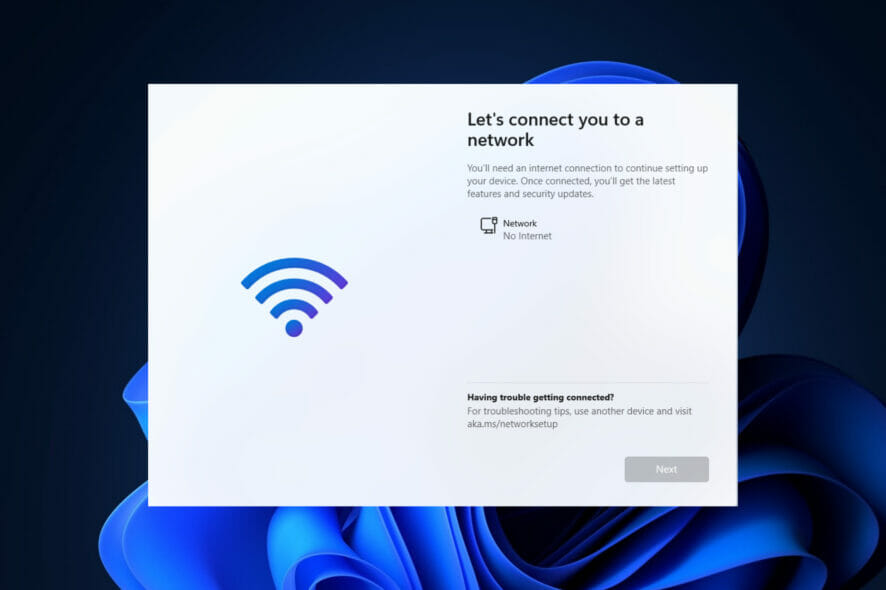
Having issues connecting to the internet or experiencing slow speeds in Windows 11 is endlessly frustrating. Without steady Wi-Fi or wired connectivity, you can’t browse, stream, or use cloud apps properly. Don’t panic – most internet problems on Windows 11 can be fixed with some simple troubleshooting.
It’s common to encounter internet connectivity or performance issues after upgrading to Windows 11. Thankfully, these problems usually stem from minor software bugs or configuration errors that can be resolved with the right solutions. Read on to understand what may be causing Windows 11 internet problems and try these troubleshooting steps to get back online.
Common Causes of Windows 11 Internet Issues
Some typical culprits for internet problems in Windows 11 include:
- Outdated network drivers needing an update to fix bugs.
- Incorrect DNS server settings entered incorrectly.
- Using old and incompatible network hardware.
- Too many background apps using bandwidth and resources.
- Antivirus software firewalls blocking internet access.
- Disabled network adapters in the settings.
- Malware or viruses interfering with networking services.
- Too many remembered networks confusing connectivity.
- ISP service outages in your area disrupting connection.
Troubleshooting Windows 11 Internet Problems
If you experience internet issues like slow speeds or dropped connections in Windows 11, there are ways to troubleshoot:
Check Network Adapters
Ensure your network adapter drivers are up-to-date and enabled. Go to Device Manager to check adapter settings and update drivers. Disable and re-enable adapters if needed.
Checking network adapters:
- Open Device Manager
- Expand Network Adapters
- Right-click your adapter and select Update Driver
- Re-enable the adapter if disabled
Reset Network Settings
Resetting all networking components through the Network Reset function can fix configuration issues causing problems. This resets settings to default.
Resetting network components:
- Go to Settings > Network & Internet
- Scroll down and select Advanced network settings
- Click Network Reset and confirm
Review Antivirus and Firewall Software
Antivirus programs often enable firewalls that can block internet connectivity. Check your security software settings and disable blocking if needed. Allow connections.
Checking antivirus software:
- Open settings for your antivirus program
- Navigate to the firewall component
- Ensure connections are allowed for web browsing
- Disable blocking if enabled
Flush and Renew DNS
Flushing old DNS data and forcing a renewal can resolve internet browsing issues related to DNS. Open an admin Command Prompt and enter the commands.
Flushing DNS:
- Type cmd in the search bar and run as admin
- Enter “ipconfig /flushdns” to flush DNS
- Enter “ipconfig /renew” to renew DNS data
Forget Old Wireless Networks
Buildup of too many remembered Wi-Fi networks can cause internet issues as Windows gets confused connecting. Forget old networks you no longer use.
Forgetting old networks:
- Go to Settings > Network & Internet > Wi-Fi
- Click Manage Known Networks
- Remove any old or unused networks
Check ISP for Outages
Your internet service provider may be experiencing a regional outage disrupting service. Check your ISP’s website or customer support to see if any service issues have been reported in your area.
Checking for ISP outages:
- Open your ISP’s website and browse for notices
- Check their Twitter or other social media for updates
- Call your ISP’s customer service line for outage info
Scan for Malware and Viruses
Malicious software could be interfering with Windows 11 internet components and services. Scan for viruses or malware with your installed antivirus program or a malware removal tool.
Scanning device for malware:
- Open your antivirus software
- Run a full system scan
- Quarantine or clean up any found threats
- Restart your device
Uninstall VPN Software
If you use a Virtual Private Network (VPN), disconnect it temporarily to see if the VPN app is contributing to connectivity issues. VPNs can sometimes disrupt internet access.
Temporarily uninstalling VPN apps:
- Disconnect from the VPN if connected
- Open Settings and go to Apps
- Select the VPN app and choose Uninstall
- Restart and test internet access
With focused troubleshooting on network adapters, drivers, DNS, bandwidth usage, and antivirus settings, you should be able to resolve most internet issues in Windows 11. Check for ISP outages if problems persist across devices.
FAQs
-
My internet is very slow and laggy after upgrading to Windows 11. What should I check?
Start by ensuring your network drivers are updated through Device Manager, resetting network components in Settings, disabling any antivirus firewalls blocking connections, flushing DNS data, and forgetting old WiFi networks. Outdated drivers, firewall conflicts, and DNS issues often slow Windows 11 internet.
-
Why does my internet keep disconnecting randomly in Windows 11?
Frequent disconnections could be caused by disabled or malfunctioning network adapters, VPN apps interfering with networking, too many background apps using bandwidth, or malware disrupting internet services. Check adapters, uninstall VPNs, close background apps, and scan for malware.
-
I can’t connect to the internet at all in Windows 11. How can I troubleshoot?
For no internet access, check for outage alerts from your ISP, confirm network adapters are enabled, reset network components, renew IP and DNS settings, disable antivirus firewalls if blocking connections, uninstall VPN apps, and scan for potential malware preventing access. Start with simpler steps first.
