Just updated your iPad to iPadOS 17 and now iMessage won’t send or receive texts? Don’t panic, this guide will help troubleshoot the issue.
iMessage is invaluable for easy communication between your iPad and iPhone contacts. But after installing a major update like iPadOS 17, you may suddenly find iMessages fail to deliver or receive on your iPad. Understandably frustrating when this key messaging platform stops working properly!
While iMessage issues after an operating system update are irritating, they can typically be resolved through some simple troubleshooting. Let’s walk through how to diagnose the problem and get iMessages reliably sending and receiving again on your iPad after upgrading to iPadOS 17.
Why Does iMessage Fail on iPadOS 17?
There are a few reasons why iMessage might fail on iPadOS 17. Some of the most common reasons include:
- Internet connection problems. iMessage requires a stable internet connection to work, so if you’re having problems with your Wi-Fi or cellular data, iMessage may not work properly.
- iMessage server outages. Apple’s iMessage servers are usually very reliable, but occasional outages can occur. If the iMessage servers are down, no one will be able to send or receive iMessages.
- Software bugs (iPadOS 17). It’s also possible that there are bugs in iPadOS 17 that are causing iMessage to fail. Apple is typically quick to fix any bugs that are reported, but it may take some time for them to identify and fix all of the bugs in a new operating system release.
Other factors that can affect iMessage sending and receiving functions on an iPad after an update:
- Incorrect iMessage or iCloud settings
- Outdated carrier settings need updating
- Conflict with other messaging apps
- Server-side Apple issue temporarily disrupting service
- Hardware problem like damaged wireless antenna
Understanding the main trigger will guide you to the proper fix. Now let’s go ahead and begin troubleshooting your iPad!
Troubleshooting iPad iMessage Issues After iPadOS 17
Here are the workarounds that you can try when troubleshooting an iPad that cannot send or receive messages after an update:
1. Check your internet connection. Make sure that you are connected to a stable Wi-Fi or cellular data network.
- To check your internet connection, go to Settings > Wi-Fi or Cellular and make sure that the switch is turned on.
- If you are connected to Wi-Fi, make sure that you are connected to a known network and that you can access the internet.
- If you are connected to cellular data, make sure that you have a good signal and that your data plan is active.
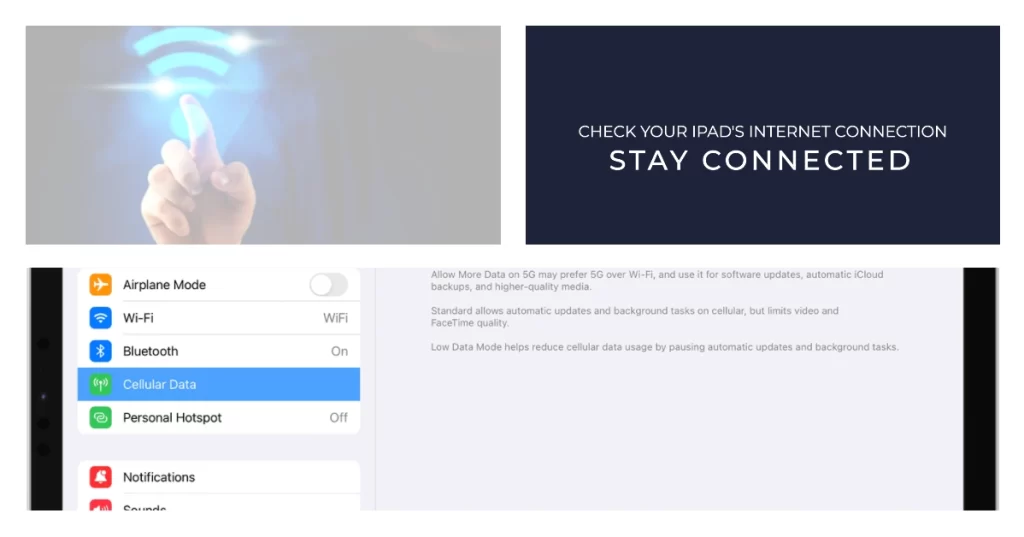
There are two main reasons why it is necessary to check your internet connection when having trouble sending and receiving messages on iPad after an iPadOS update:
- iMessage requires a stable internet connection to work. iMessage is a cloud-based messaging service, which means that it relies on Apple’s servers to send and receive messages. If you don’t have a good internet connection, your iPad may not be able to communicate with Apple’s servers, and you won’t be able to send or receive iMessages.
- An iPadOS update may have changed your network settings. When you update your iPad to a new version of iPadOS, the update may change your network settings. For example, the update may have turned off Wi-Fi or cellular data, or it may have changed your DNS settings. If your network settings are incorrect, you won’t be able to connect to the internet, and you won’t be able to send or receive messages.
2. Restart your iPad. A simple restart can often fix minor software glitches.
- To restart your iPad, simply press and hold the power button until you see the “slide to power off” slider. Slide the slider to the right to turn off your iPad.
- Once your iPad is turned off, press and hold the power button again until you see the Apple logo.
Restarting your iPad can help fix post-iPadOS problems with sending and receiving messages in a few ways:
- It can clear out any temporary memory glitches that may be causing the problem.
- It can reload all of the system files and services, which can help to fix any corrupted files or services.
- It can reset your network connection, which can fix any problems with your Wi-Fi or cellular data connection.
3. Check the iMessage server status.
It is necessary to check the iMessage status when dealing with post-update issues on sending and receiving messages on iPad because iMessage is a cloud-based messaging service. This means that it relies on Apple’s servers to send and receive messages. If there is a problem with Apple’s servers, it could affect your ability to send and receive iMessages.
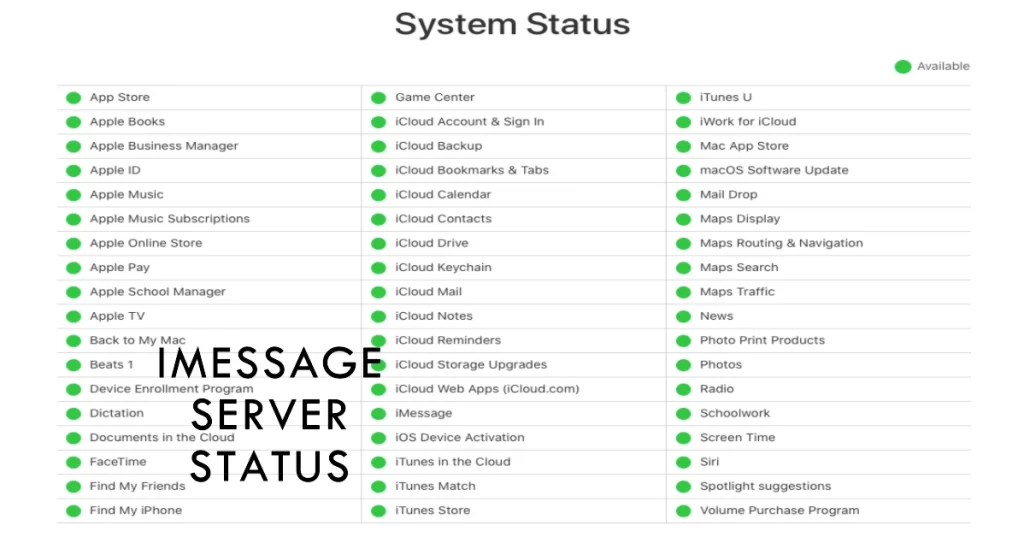
- To check the iMessage status, you can go to the Apple System Status page. This page shows the status of all of Apple’s services, including iMessage. If there is a problem with iMessage, it will be listed on the System Status page.
If you check the iMessage status and see that there is a problem, there is nothing you can do but wait for Apple to fix the problem. However, if you check the iMessage status and see that there is no problem, then the problem is likely with your iPad or your internet connection.
4. Make sure that iMessage is enabled.
It is necessary to check if iMessage is enabled when dealing with post-update messaging issues on iPad because iMessage is a separate messaging service from SMS and MMS. It requires its own settings to be enabled in order to work.
- To check the iMessage settings on your iPad, go to Settings > Messages and make sure that the iMessage switch is turned on.
When you update your iPad to a new version of iPadOS, it is possible that the update could disable your iMessage settings. This could happen if the update encounters an error or if it accidentally changes your settings.
5. Check your send and receive settings.
It is necessary to check the send and receive settings on iPad when dealing with post-update messaging issues because it is possible that the update could have changed your settings. For example, the update may have disabled iMessage, changed your start new conversations from setting, or deselected your phone number or email address from the “You can receive iMessages to and reply from” section.
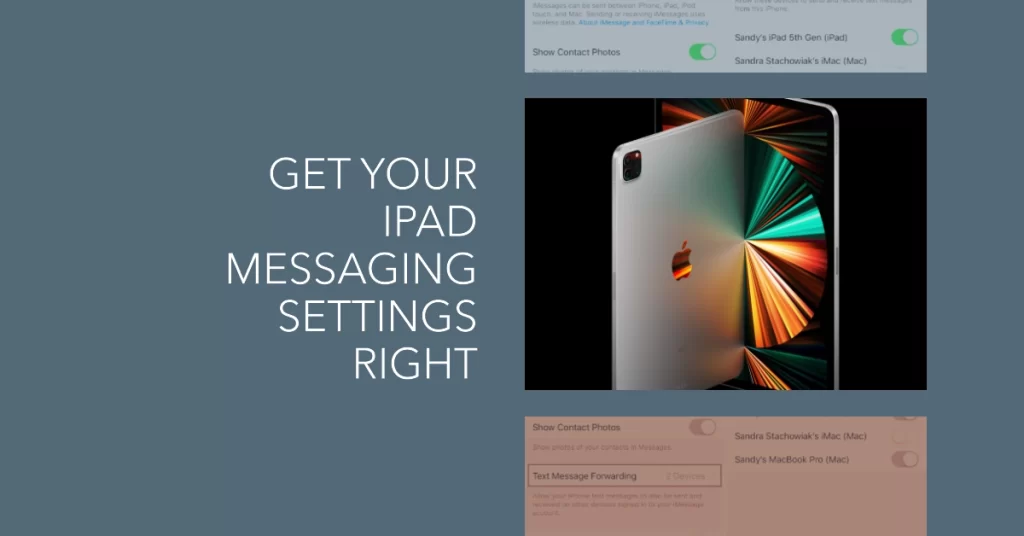
To check your send and receive settings on iPad, follow these steps:
- Open the Settings app.
- Tap Messages.
- Tap Send & Receive.
Make sure that the following is correct:
- iMessage is enabled.
- Your phone number and email address are selected under You can receive iMessages to and reply from.
- The correct phone number or email address is selected under Start New Conversations From.
To make sure that you are receiving iMessages from all of your contacts, make sure that the iMessage switch is turned on for all of your phone numbers and email addresses.
You can also choose which phone number or email address you want to use to start new conversations from.
- To do this, tap the Start New Conversations From section and select the phone number or email address that you want to use.
If you are having trouble sending or receiving messages even with all the required settings, you can try resetting your send and receive settings.
- To do this, tap the Reset button at the bottom of the Send & Receive screen.
Proceed to the next step if this doesn’t help.
6. Try sending a message to someone who is also using an iPad or iPhone.
If you can send and receive messages to other iMessage users, but not to people using other messaging apps, then the problem is likely with the other person’s messaging app or device. In this case, there’s not much that can be done on your end.
7. Try sending a text message (SMS) to someone who is using a non-Apple device.
If you can send and receive text messages, but not iMessages, then the problem is likely with iMessage itself. If you’ve checked every relevant setting on your device but still couldn’t get the messaging feature to work as intended, then it’s likely due to a server issue, if not, a complex iPadOS bug that requires a dedicated fix patch from Apple.
8. Update your iPad to the latest version of iPadOS.
Apple recently released minor software updates as follow-up patches to fix known iPadOS 17 bugs and improve performance. If you haven’t already, download and install the latest iPadOS version to see if that will fix the problem.
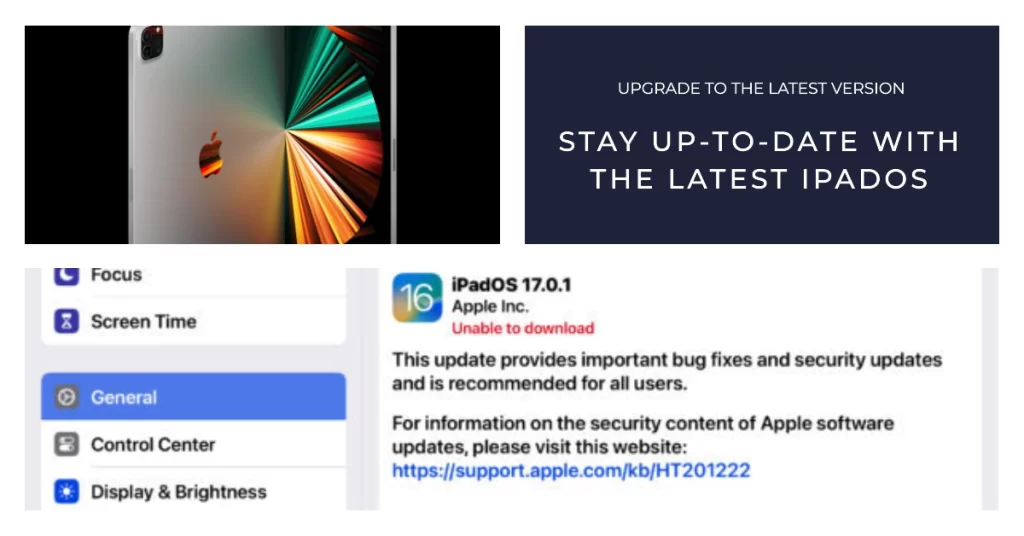
To update your iPad over the air:
- Make sure your iPad is connected to the internet via Wi-Fi or cellular data.
- Go to Settings > General > Software Update.
- If there’s an update available, tap Download and Install.
- Enter your passcode, if prompted.
- Your iPad will download and install the update. Once the update is installed, your iPad will restart.
To update your iPad using a computer:
- Connect your iPad to your computer using a USB cable.
- Open Finder on your Mac, or iTunes on your PC.
- Select your iPad in the Finder or iTunes sidebar.
- Click the General tab.
- Click the Check for Updates button.
- If there’s an update available, click the Download and Install button.
- Enter your passcode, if prompted.
- Your iPad will download and install the update. Once the update is installed, your iPad will restart.
9. Reset your network settings.
Resetting network settings on iPad will reset all of your network settings to their defaults. This includes your Wi-Fi settings, cellular data settings, VPN settings, and DNS settings.
Resetting network settings can help fix post-update messaging problems in a few ways:
- It can clear out any temporary glitches that may be causing the problem with your network connection.
- It can reload all of the network settings and services, which can help to fix any corrupted files or services.
- It can reset your DNS settings, which can fix any problems with your internet connection.
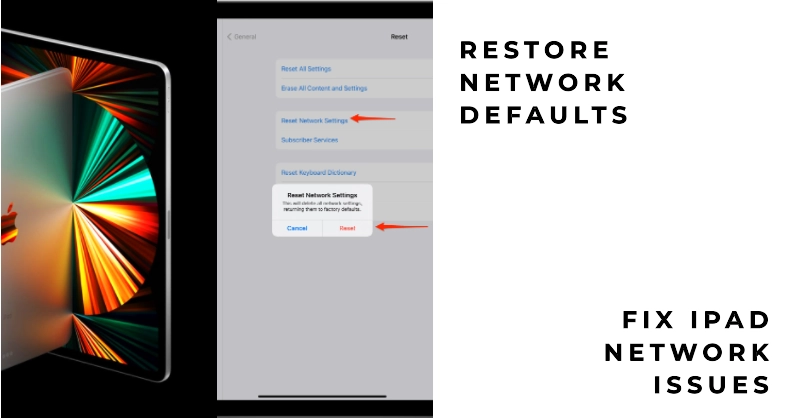
To reset your network settings on iPad, follow these steps:
- Open the Settings app.
- Tap General.
- Tap Transfer or Reset iPhone.
- Tap Reset.
- Tap Reset Network Settings.
- Enter your passcode, if prompted.
Your iPad will restart and its network settings will be reset to their defaults.
After resetting your network settings, you will need to reconnect to your Wi-Fi network and re-enter your VPN credentials, if necessary. You should also check to make sure that your cellular data settings are correct.
Once you have reconnected to your networks, try sending and receiving messages again. If you are still having problems, you can try the other troubleshooting steps that I mentioned in my previous responses.
Other Things You Can Try to Resolve iMessage problems on your iPad
- Toggle iMessage off and back on under Settings
- Sign out and into iCloud account again
- Delete and reinstall iMessage and Messaging apps
- Delete and re-add your contacts
One of these solutions typically does the trick to restore full messaging functionality after an update.
Preventing Future iMessage Disruption
To reduce recurrence of issues after future iPadOS updates, do the following:
- Keep iPadOS version up to date
- Backup iPad before installing major updates
- Avoid “beta” software prone to bugs
- Use strong and unique iCloud account passwords
Proactive precautions go a long way to maintaining stability. If you’ve tried all of the above and you’re still having problems with iMessage, you can contact Apple Support for assistance.
And that’s all about resolving the post-iPadOS messaging problem on an iPad. Hope this helps!
