Nothing’s worse than your JBL Tune wireless headphones refusing to power on when you want to listen to music or make calls. But don’t fret, this guide will help get them working again.
JBL Tune wireless headphones are popular for their comfortable design, bass-forward sound, and reasonable price. But sometimes these wireless headphones inexplicably stop turning on, no matter how long you hold the power button or try charging them.
While having a dead set of wireless headphones can be immensely frustrating, the situation is usually fixable through some simple troubleshooting steps. Follow along below and we’ll have your JBL Tunes rocking again in no time.
Problem Description
“My JBL Tune wireless headphones suddenly stopped turning on today even after leaving them charging for over an hour. The charging light doesn’t come on and nothing I do revives them. I rely on these headphones daily and now they’re useless bricks just past the 1 year warranty. JBL really needs to make their headphones more durable.”
Situations like this highlight the need to methodically troubleshoot and care for your audio equipment to maximize longevity. Have patience and try the steps recommended below.
Why Won’t My JBL Headphones Turn On?
There are a few common reasons your wireless JBL headphones won’t power on:
- Dead battery needs recharging
- Battery not making proper contact to charge
- Faulty power button not triggering boot up
- Corroded or damaged charging port
By understanding the underlying cause, you can more easily resolve the issue.
Step-by-Step Guide to Revive Your JBL Headphones
Try these methods to get your wireless JBL Tune headphones turning on again:
Step 1: Charge for At Least 1 Hour
Fully charge the headphones for an hour minimum to rule out a depleted battery.
A depleted battery is a battery that has no more power. This can happen because the battery has been used for a long time, or because it has been stored incorrectly. When a battery is depleted, it will no longer be able to power the device it is in.
If a battery does become depleted, it is important to recharge it as soon as possible. Leaving a battery depleted for too long can damage it permanently.
Here are some signs that your battery may be depleted:
- Your device turns off suddenly, even when it has a full charge.
- Your device takes a long time to charge.
- Your device gets hot when it is charging.
- Your device’s battery life is significantly shorter than it used to be.
Step 2: Inspect the Charging Port
Look for debris, corrosion, or damage preventing battery contact.
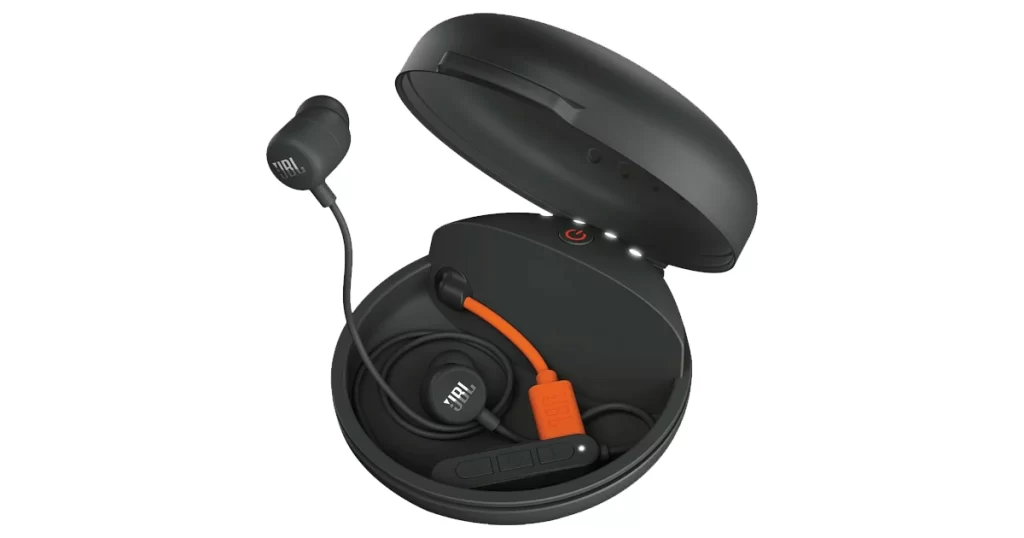
Over time, dirt and debris can accumulate in the charging port, preventing the charging cable from making a good connection. This can prevent the headphones from charging properly.
- To inspect the charging port, use a flashlight to look inside the port. If you see any dirt or debris, use a toothpick or cotton swab to gently remove it.
If the port is damaged or corroded, you will need to take the headphones to a qualified repair technician.
Step 3: Adjust the Battery Fit
Open battery compartment and reseat battery ensuring snug fit. To check the battery compartment on JBL Tune wireless headphones, follow these steps:
- Turn off the headphones.
- Locate the battery compartment cover. It is usually located on the right earcup.
- Use your fingernail or a small tool to gently pry open the battery compartment cover.
- Remove the battery from the compartment.
- Inspect the battery for any signs of damage or corrosion.
- If the battery is damaged or corroded, replace it with a new battery.
- Replace the battery in the compartment and close the cover.
If you are having trouble finding the battery compartment cover, or if you are unable to remove the battery, consult the user manual for your specific JBL Tune wireless headphones.
Step 4: Press & Hold Power Button Firmly
Pressing and holding the power button on JBL Tune wireless headphones for 30+ seconds will reset the headphones to their factory default settings. This will erase all of your custom settings, such as your paired devices, volume settings, and equalizer settings. It will also clear any cached data or temporary files that may be causing problems with the headphones.
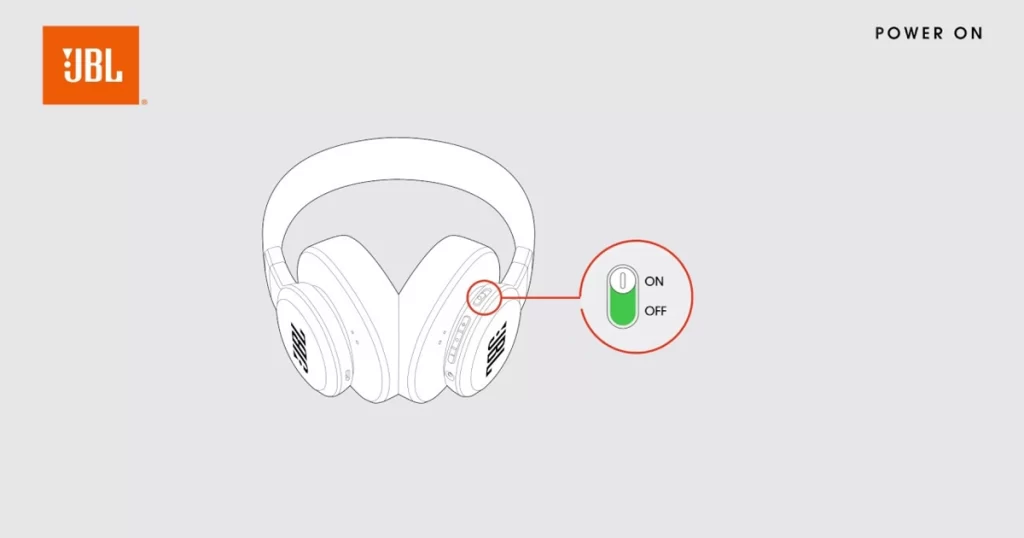
Resetting the headphones to their factory default settings can be a good way to fix minor software glitches or to troubleshoot problems with the headphones. For example, if you are having problems connecting the headphones to your device, or if the headphones are not working properly, resetting them may fix the problem.
To reset your JBL Tune wireless headphones, follow these steps:
- Turn off the headphones.
- Press and hold the power button for 30+ seconds.
- Release the power button when the headphones turn on.
The headphones will now be reset to their factory default settings.
Here are some things to keep in mind when resetting your JBL Tune wireless headphones:
- Resetting the headphones will erase all of your custom settings.
- Resetting the headphones will not erase any of your data, such as your music or photos.
- You will need to re-pair the headphones to your device after resetting them.
Step 5: Reset Pairing
Delete and re-pair headphones to device in case settings are stuck.
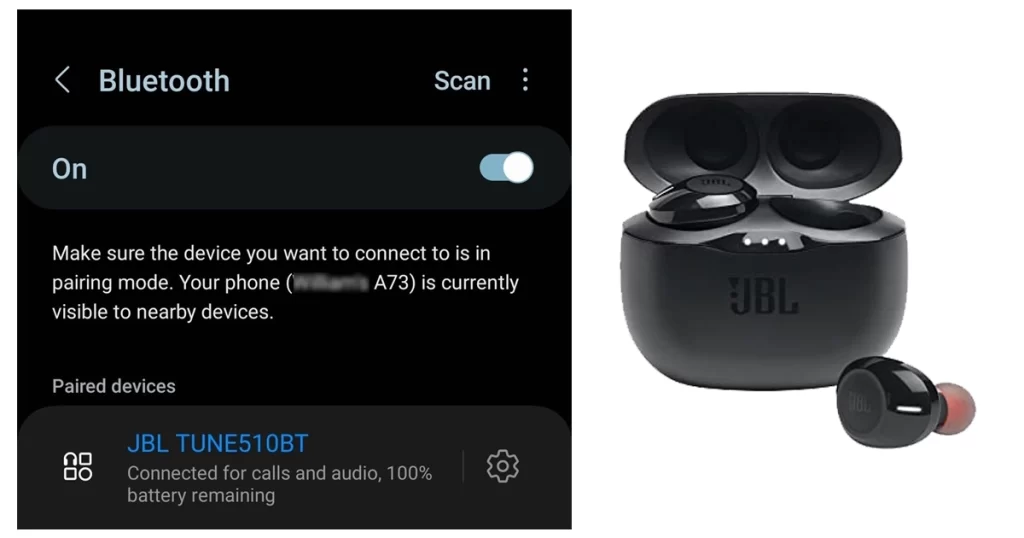
Resetting pairing on JBL Tune wireless headphones erases all of the paired devices from the headphones’ memory. This can be useful if you are having problems connecting the headphones to your device, or if you want to pair the headphones with a new device.
To reset pairing on JBL Tune wireless headphones, follow these steps:
- Turn off the headphones.
- Press and hold the volume up and volume down buttons simultaneously for 5 seconds.
- Release the buttons when the headphones turn on and the indicator light flashes red and blue.
Alternatively, you can remove pairing through your phone’s Bluetooth Settings-> Bluetooth menu. Find your JBL Tune headphones from the list of paired devices then tap on the Gear icon next to it. To un-pair, select option to Forget this device or something similar. After forgetting, restart your phone and then re-pair it with your JBL tune headphones again.
The headphones are now in pairing mode and you can pair them with your device.
Here are some things to keep in mind when resetting pairing on JBL Tune wireless headphones:
- Resetting pairing will erase all of the paired devices from the headphones’ memory.
- Resetting pairing will not erase any of your data, such as your music or photos.
- You will need to re-pair the headphones to all of your devices after resetting pairing.
Here are some situations where you may need to reset pairing on your JBL Tune wireless headphones:
- You are having problems connecting the headphones to your device.
- You want to pair the headphones with a new device.
- You have sold or given away your headphones and want to remove all of your paired devices.
- You are experiencing other problems with the headphones, such as audio dropouts or connection problems.
Resetting pairing can be a good way to troubleshoot problems with your JBL Tune wireless headphones. However, it is important to note that resetting pairing will erase all of the paired devices from the headphones’ memory.
Contact JBL Support
If issues persist, reach out to JBL support online for troubleshooting or warranty options.
Preventing Future Powering On Problems
To avoid wireless headphone power on issues recurring, take note of the following recommendations:
- Never let battery fully deplete, charge regularly
- Keep charging port debris-free
- Be careful when inserting the charging cable.
- Store in cool, dry location to prevent corrosion
- Avoid dropping or exposing headphones to moisture
- Check for firmware updates and install if available
If you follow these tips, you can help to ensure that your JBL Tune wireless headphones last for many years.
JBL Tune Wireless Headphones Revived!
While having your wireless headphones inexplicably stop powering on is immensely aggravating, methodical troubleshooting will typically identify and resolve the underlying issue. Check connections, battery fit, button function, and charging port cleanliness. With concerted effort, you’ll be wireless listening again in no time.
